Revised 7/4/14

My mom used to make me a special cake for my birthday each year, called Hot Milk Cake...from scratch. She made it with a Caramel Icing that was so rich that it tasted more like caramel fudge (or brown sugar fudge)... It was a beautiful and delicious cake that got surprisingly better after a few days of resting. Ironically, I have never seen someone else make (or serve, or even talk about) hot milk cake...and I wonder why. It is such a good cake and perfectly designed to pair with vanilla ice cream.
My mom eventually passed on the recipe to me, so that now my wife can make it each year for my birthday, which she does. My wife would prepare it exactly according to the instructions that my mom left us (my mom has since passed away) and for some reason the cake would turn out denser than I remember. It was good, but I began to wonder if we were missing something. So I turned to google and discovered 2 things: 1- that hot milk cake is not confined to my household and 2- that others struggled with the denseness of the cake and were looking for answers too.
So this year (against every fiber of morality and rightness) my wife agreed to let me make my own hot milk cake for my birthday. (I know, I know...you don't even need to say anything...). I really wanted to research and troublshoot this recipe, and it was time.
I will admit that this recipe, in my mind is still under construction. (Not any more) Honestly, my whole cakemaking process is (was) under construction. I have this thing in my mind that you should be able to make a cake from scratch that is better than a box, but I have never been able to do it...and believe me, I have tried. Even though that is probably a separate story altogether, it is still part of this story. I have read about it and tried some changes, and here is what I found out:
OK... revision (1/22/19). I took this recipe to a pro (Jacqui Renager) and had her diagnose my problem. We made the cake together with some suggestions and here is how she modified:
1. Add some more flour. We started with 2 cups and she added almost another full cup. I wrote 7/8 to get your attention.
2. Separate the eggs and beat the YOLKS ONLY with the sugar. Finish by folding the beaten whites in last.
3. Alternate adding the hot milk mixture and the dry ingredients mixture to the yolk mixture. Let them have time to incorporate before switching back. End with the flour mixture.
4. Remember, even if cakes does not appear completely done with the toothpick test, it will cook for several more minutes outside of the oven
This is an unbelievable cake and will take you back to simpler times. Try it, and make sure that you have good quality vanilla ice cream to accompany it. Make sure that you do not eat the whole cake in one day so that you can witness how the icing on the cake improves with time.
Hot Milk Cake
Ingredients (makes 2- 8" thin rounds) Consider doubling for bigger cakes.
So this year (against every fiber of morality and rightness) my wife agreed to let me make my own hot milk cake for my birthday. (I know, I know...you don't even need to say anything...). I really wanted to research and troublshoot this recipe, and it was time.
I will admit that this recipe, in my mind is still under construction. (Not any more) Honestly, my whole cakemaking process is (was) under construction. I have this thing in my mind that you should be able to make a cake from scratch that is better than a box, but I have never been able to do it...and believe me, I have tried. Even though that is probably a separate story altogether, it is still part of this story. I have read about it and tried some changes, and here is what I found out:
- My recipe started with 2 tablespoons of butter. Comparing with any other recipe shows that this is waaay too little. 10 tablespoons was the norm.
- It is better to start cakes with all ingredients at room temperature.
- Second, use cake flour. Cake flour is made from soft winter wheat and has less protein than all purpose, which combines differently and has less gluten, which translates to a softer, more tender crumb.
- When beating eggs, beat them for a long time...5 minutes on my KitchenAid, which makes them thick and "ribbony".
- Use 2- 8 inch pans versus 2- 9 inch pans.
- Cook at a lower temperature and cook on the middle rack (it makes a difference.) Otherwise it cooks too quickly, the center rises and breaks at the top. It is a balance between cooking too fast and too hot, versus too slow where the rise does not function correctly.
- Do not open the oven during the baking process! (Even if you forgot tot take a picture of cake for your blog.) The quick rush of cold air allows all of the perfectly expanded air bubbles to collapse.
OK... revision (1/22/19). I took this recipe to a pro (Jacqui Renager) and had her diagnose my problem. We made the cake together with some suggestions and here is how she modified:
1. Add some more flour. We started with 2 cups and she added almost another full cup. I wrote 7/8 to get your attention.
2. Separate the eggs and beat the YOLKS ONLY with the sugar. Finish by folding the beaten whites in last.
3. Alternate adding the hot milk mixture and the dry ingredients mixture to the yolk mixture. Let them have time to incorporate before switching back. End with the flour mixture.
4. Remember, even if cakes does not appear completely done with the toothpick test, it will cook for several more minutes outside of the oven
This is an unbelievable cake and will take you back to simpler times. Try it, and make sure that you have good quality vanilla ice cream to accompany it. Make sure that you do not eat the whole cake in one day so that you can witness how the icing on the cake improves with time.
Hot Milk Cake
Ingredients (makes 2- 8" thin rounds) Consider doubling for bigger cakes.
· 2 7/8 cups cake flour (sifted)
· 2 tsp baking powder
· 1/2 tsp salt
· 1 cup whole milk
· 10 Tbs butter
· 4 eggs (room temperature and separated)
· 2 cups sugar (run in food processor for 2 minutes to get it superfine)
· 2 tsp pure vanilla
1. Move oven rack to middle! Preheat the oven to 325 degrees.
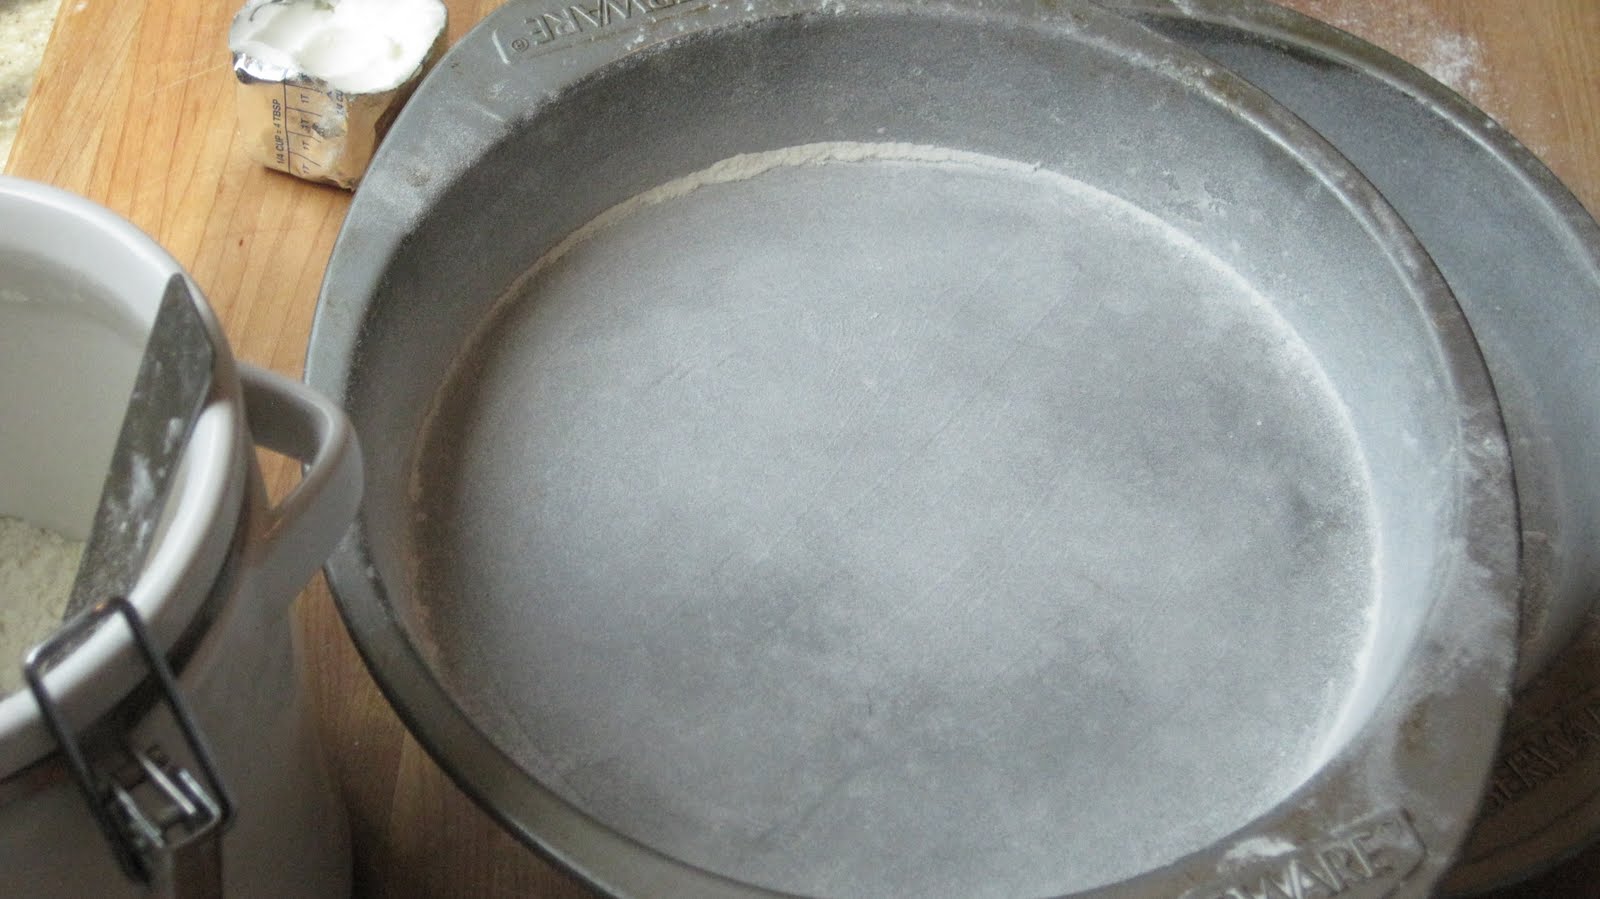
2. Lightly butter and flour 2- 8 inch square baking pans; set aside. (I am now using parchment paper in pans too.)


3. In a medium bowl, whisk together FLOUR, BAKING POWDER, and SALT; set aside.


4. In the bowl of an electric mixer fitted with the whisk attachment, mix EGG YOLKS on high until blended. Gradually add SUGAR while continuing to mix. Beat until very thick and the batter falls from the whisk in a thick ribbon. (You cannot overbeat, I have read.)


5. Beat in VANILLA.

6. Heat MILK and BUTTER until simmering in a small saucepan.

7. Alternate adding HOT MILK mixture to the EGG YOLK mixture and DRY INGREDIENTS to the EGG YOLK as you continue beating until combined. Be sure not to cook eggs by adding too much of the HOT MILK mixture at one time.


9. Beat EGG WHITES until fluffy, but not stiff.
10. Slowly fold EGG WHITES into BATTER.
11. Pour the batter into the prepared pans.

10. Bake side-by-side until golden brown and starting to pull away from the sides of the pan, 25 to 30 minutes. Use the toothpick method to confirm doneness.


11. Cool in pan 10 minutes on rack, then remove from pan and cool on wire rack until room temperature. Resist the urge to frost before completely cooled.

Hot Milk Caramel Icing Recipe
Ingredients
- 1/2 cup butter
- 1 cup brown sugar
- 1/4 cup whole milk
- 3 1/4 cup confectioners' sugar (sifted)
1. Melt butter in small saucepan.

2. Add brown sugar to butter and bring to low boil.


3. Stir 1 minute.
4. Cool for 15 minutes.
5. In a different saucepan, heat milk until steaming.

6. Transfer sugar/butter mixture to mixer bowl, add hot milk, and and beat until smooth.


7. Keeping beater running, slowly add confectioners sugar until thoroughly mixed, and no lumps are present.

8. Frost cake right away. If the frosting becomes hardened, add a spoonful or two of additional milk. Stir well, scraping down sides - until icing softens enough to a spreading consistency. It’s helpful to dip your knife in very hot water if you want to soften and smooth out uneven edges in the icing.


