Pages

Monday, September 26, 2011

Homemade Pizza Sauce- Yes...yes, you can.

There are a lot of available pizza sauces that you can buy at the store, and and many of them are very good.  However many of them fall short in flavor and contain way too many preservatives.  Why not just make and can your own sauce?   Its not very hard, and it will last you the whole year long.  Besides, once you taste it, you will realize how much better you can make it.  You can also amaze your friends when you give them a jar...

This sauce recipe comes to me from a friend who actually came out to show me personally how he does it.  He is a chef of sorts, grows his own heirloom San Marzone tomatoes...hundreds of them each year...and boasts a beautiful outdoor wood-fired oven.  He is the kind of guy from whom you want to learn how to make good pizza sauce.

I choose to put them in half pint jars, because a good pizza needs very little sauce.  Since there is no preservatives in the jar, once you open it, it is a race against time.  One jar will cover approximately 4 plate-sized pizzas.

This whole process takes several hours and makes your whole home smell wonderful.  Lets get started...

Pizza Sauce

Ingredients

4 Tablespoons olive oil
2 cups chopped onion
8 cloves of garlic crushed
10 cups drained canned tomatoes ( I used a large commercial sized can.)
4- 12 oz cans tomato paste
4 Tablespoons sugar
2 teaspoons dried oregano crushed or 4 Tablespoons of fresh oregano, crushed
4 Tablespoons kosher salt
1/2 teaspoon of fresh black pepper
1/2 T of bottle lemon juice

Instructions

1.  In a 3-quart stainless steel pot over medium heat, heat the olive oil.  Add the onion.  Reduce the heat and saute until translucent, about 15 minutes, stirring frequently to prevent browning.


(Canning step 1- Put water into large into water bath canner.  Heat on high.)

2.  While the onions are cooking, prepare the garlic.  Mince the garlic with a garlic press, or use a knife.


3.  Add the garlic and saute 3 minutes.


4.  Add the tomatoes, tomato paste, sugar, oregano, salt, pepper to the pan.  Stir well to combine.  Cover and simmer for 30 minutes, or until thick, stirring occasionally to prevent sticking.


(Canning step 2- When water in water bath canner is boiling, carefully put clean jars, rings and lids into bath.)

5.  Remove sauce from heat.

6.  Process the sauce in a blender, in small batches, until smooth.


7.  Return the sauce to the pan.  Over medium heat, bring the sauce to a simmer.

8.  Remove the pan from the heat.

(Canning step 3- Carefully remove jars from water bath canner.)

9.  Put 1 teaspoon of lemon juice in each 1/2 pint jar, or 1 Tbls of lemon juice for each pint jar.


10.  Ladle the sauce into hot jars, leaving about 1/2" head space.  Using a plastic knife, remove any trapped air bubbles.  Wipe the jar rims and threads with a clean damp cloth.  I much preferred using this funnel that came with the Ball Utensil Set.  It prevents dripping on the rim of the jar.


(Canning step 4- Carefully remove lids and rings from water bath canner.)

11.  Cover with hot lids and apply screw rings.

12.  Put half pint jars back in boiling water bath canner (with 1" of water over the tops) for 30 minutes, or pint jars for 35 minutes.

13.  Carefully remove jars from water and let cool.  You will hear them pop when the pressures subsides.


Now that you know how to can...what will you think of next?  Enjoy!

Saturday, August 27, 2011

The Official Hurricane Pies (otherwise known as Whoopie Pies)

When hurricane Irene was coming through, our family was getting struck with cabin fever (we live in Virginia Beach).  Having been inside all day, my wife turned to me late in the afternoon and said, "Can't you make something?"  Looking though my list of ideas, I came upon a recipe that I had not made yet for Whoopie Pies, using my recently purchased Whoopie Pie pan.

The Whoopie Pie is basically a cookie-cake (a cookie made with a cake-like batter) with a cream filling in the center.  Its roots are possibly Amish, and it is the official state treat of Maine.  I have formally now changed the name to Hurricane Pies, since I experienced a hurricane while making these treats.  (Apparently, you are entitled to do this kind of thing when you go through a hurricane.)

The recipe I used was included with the pan, although I chose to use my favorite filling recipe instead of theirs.  Overall, it was good, except for the fact that I did not add buttermilk or baking soda.  This was not on purpose...I just did not read the directions well and used plain milk instead and just completely blanked on the baking soda.  The Hurricane Pies would probably would be a little more fluffy than they are, but all things being equal, I am satisfied.  (I was expecting a bigger reaction from the hurricane as well...)

Whoopie Pies (now officially called Hurricane Pies)


Ingredients

1/2 cup (1 stick) butter, softenend
1 cup firmly packed brown sugar
1 egg
1 tsp vanilla extract
2 cups all-purpose flour
1/3 cup cocoa powder
1 tsp baking powder
1 teaspoon baking soda
1/2 tsp salt
1 cup buttermilk (do as I say, not as I do)

Instructions

1. Preheat oven to 350 degrees.

2.  Lightly grease Whoopie Pie Pan with shortening or nonstick cooking spray.


3. In large bowl, beat butter and sugar with electric mixer on medium speed until light and fluffy, about 3 minutes.


4.  Add egg and vanilla; beat until well combined.


5.  In another bowl, sift together the flour, cocoa powder, baking powder, baking soda and salt.


6.  Add half the dry ingredients into the butter mixture and mix on low speed.


7.  When dry ingredients are almost incorporated, stop the mixer and add the buttermilk.  Continue to mix on low speed until all ingredients are almost incorporated.


8.  Stop the mixer and add the remaining dry ingredients.  Mix on low until just combined.


9.  Spoon 2 tablespoons of batter into each cavity: with the bottom of a spoon spread batter to the edges using a circular motion, then reverse direction until filled evenly.  Cavity should be about 2/3rds full.


10.  Bake for 10 minutes or until the top springs back when touched. 


 11.  Allow cakes to cool in pan several minutes before removing them.  Place in Tupperware container so they do not get stiff.  Separate with parchment paper so they do not stick together.

Hurricane Pie Filling

This was my taste-tested favorite filling recipe for my Twinkies recipe.

Ingredients

4 Tbls all-purpose flour
3/4 cup milk
3/4 Tsp vanilla extract
6 Tbls salted butter
6 Tbls shortening
3/4 cup granulated sugar
Dash of salt (optional)

Instructions

1.  In a small saucepan cook flour and milk over medium heat until a paste forms. Stir constantly and do not allow mixture to brown. Remove from heat and let cool 1 minute.

2.  Add vanilla and stir until smooth. Press a piece of plastic wrap down on the surface of the paste to avoid forming a skin and set aside to cool completely.

3.   In the bowl of your mixer beat butter, shortening, and sugar until fluffy, scraping bowl to fully incorporate ingredients.

4.  Add cooled flour/milk mixture and continue to beat 5 minutes on medium-high speed until smooth and creamy. 

5.  Spoon the mixture into a 1 gallon Ziploc back and cut one bottom corners out.


Building the Hurricane Pies

Instructions

1.  Turn all the pies upside down (flat side up).


2.  Apply a generous amount of the filling using the Ziploc back.


3.  Put the other pie on top.

During your next hurricane, give these a try.  Your family will appreciate them...and make sure you have electrical power to finish them...

Lesson learned during this process:  Get all the ingredients out while reading the list. 

Sunday, August 14, 2011

The Incredible, Incredible Berger Cookie


The Original Berger cookie
 If you are from Baltimore, or maybe the surrounding region, you have hopefully heard and tried the Berger Cookie.  Produced by the DeBaufre Bakeries in downtown Baltimore, these treats have been around since the early 1800's...yes that is an 18.  Originally founded by one of the Berger brothers, Henry (from Germany) and his three sons George, Henry and Otto, they started selling their baked products in open air markets around town. Eventually they combined their efforts into one bakery, thus Bergers emerged.

The bakery was eventually sold, but continued selling the Berger cookie under its original name.  In 1969, Charles and Benjamin DeBaufre, former employees who started their own bakery, acquired the company and continue to run it today.  They still maintain virtually the same recipe for the acclaimed Berger Cookie that made it famous.

On a recent visit to Baltimore (where I grew up) I stopped into Eddie's Market to get a box of these treats.  That's where it dawned on me, "Why can't I try to make these?" 

 The Berger Cookie is a soft sugar cookie with a dollop of chocolate fudge (not icing) spread on one side.  The fudge is as thick as the cookie itself and has a darker, semi-sweet flavor.  On some of the cookies the fudge has overflowed down the side, which makes the feel even more homemade.  They are extraordinarily rich and, in spite of the fact that you should probably eat only one, you cannot stop.  Some people have compared these to New York's famous Black and Whites, but honestly they are quite different...and, in my opinion, way better.  Try for yourself to see.
To make these, I had to look around for recipes.  I found many online, most of which are from people who are not from Baltimore and are OK with just putting chocolate icing instead of the fudge which is unacceptable.  This recipe came from the King Arthur Flour site, however it was not their recipe, but a response from someone who did not believe theirs had cut the mustard.   I'll admit that my recipe could use some fine tuning, but it was close.


My first shot at the Berger..
 Also, I learned several things from this...  I have never made fudge before and when it says use a candy thermometer...use one.  I thought my instant read thermometer would work, but once it was cooking and needed a temperature of 234°, I found my instant read capped out at 220°... not good.  Then I started using my infra red laser thermometer, which I did not trust, because in spite of boiling and boiling, I could not get the temperature higher.  Thus, the fudge had a much more sugary texture, which was unacceptable.  Second thing is when it says things like boil covered, I should follow the instructions...not be so interested in getting pictures that I neglect to basic things.  Fudge, like candy, is a complete chemistry experiment...everything must be done perfectly, or else.


Bergers Cookies

Cookie Ingredients

·         ½ cup butter (=1 stick) at room temperature
·         ¾ teaspoon salt
·         1 teaspoon vanilla extract
·         1 teaspoon baking powder
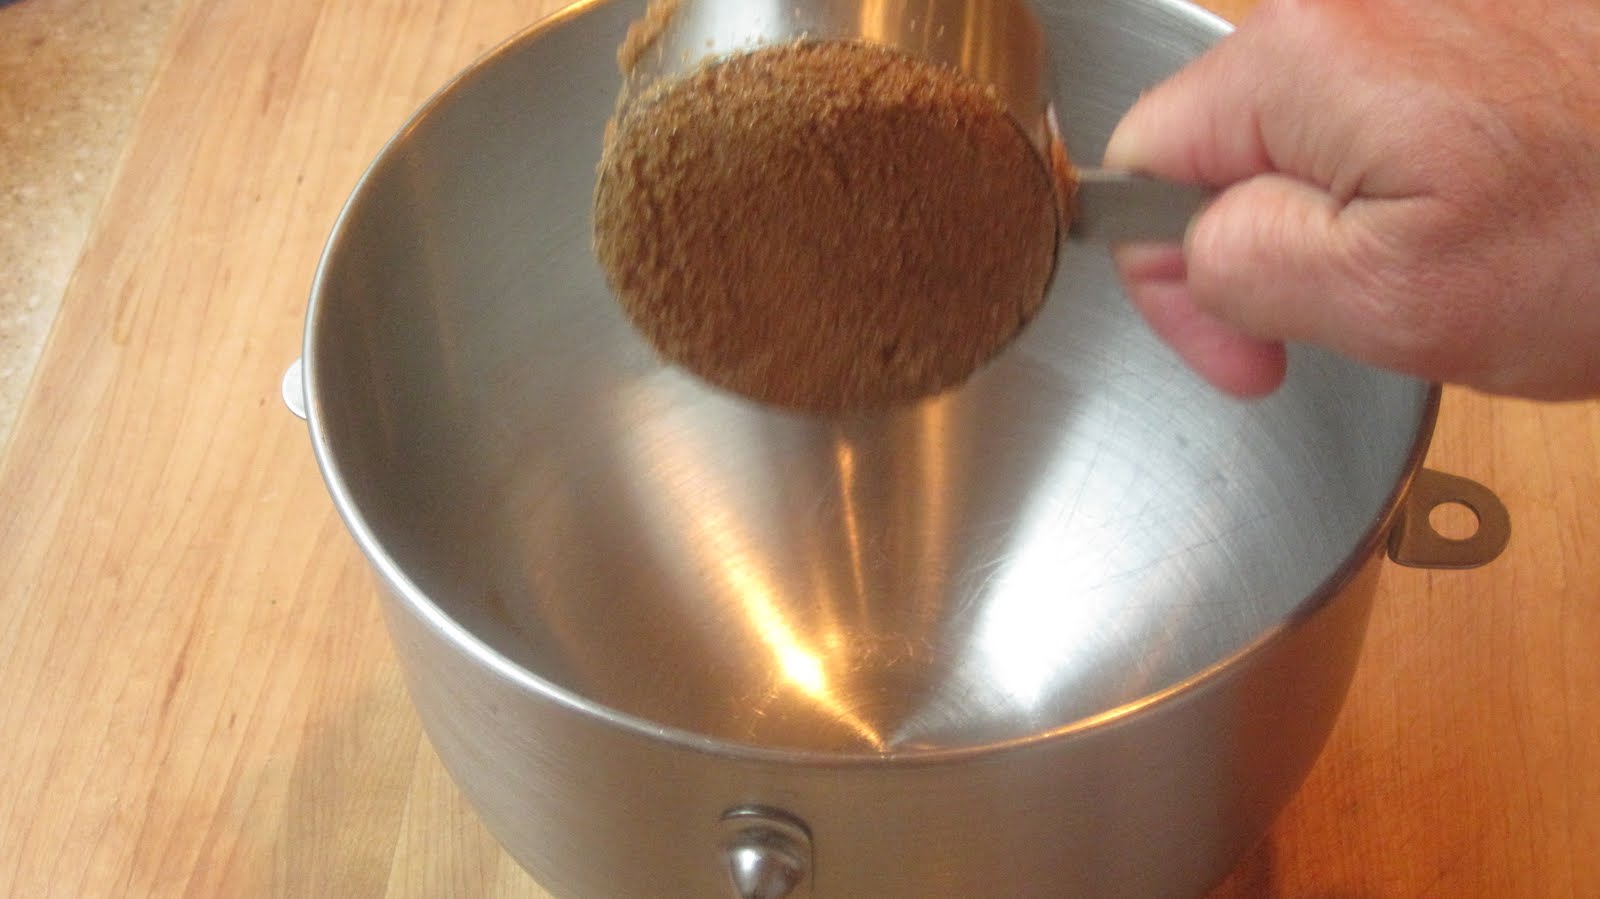
·         ¾ cup packed light brown sugar (next time I will try pure cane sugar...not sure why they used light brown)
·         1 egg
·         2 cups flour
·         ½ cup milk
Instructions
1. Preheat the oven to 350° F.
2.  For this recipe do not cream the butter and sugar, just mix it to combine.

 Ok, from this point on, my camera went into "yellow" stage.  I think because this recipe is so old, and the camera decided that the pictures should look sepia-like.  It contributes to the nostalgia effect, if you use your imagination...really hard.
 
 3.  Add remaining ingredients and stir to combine being careful not to over work the dough.
I keep some salt in an old baking powder can, so that it is easy to measure...

 4. Drop level scoops of dough onto a parchment lined baking sheet 2 inches apart. (I admit that in my first batch, the scoops were too large. )
This is too big of a scoop...
  5. Bake the cookies for 12 to 15 minutes or until the edges just begin to turn golden brown.
 

6. After cooled, turn the cookies upside down on the baking sheet in preparation for the addition of the topping.
Chocolate Fudge Topping
Disclaimer- My recipe did not have the semi-sweet "bite" that the Berger Cookies have.  I am not sure how to modify at this point, but I wonder if the chocolate chip / sugar ratio can be changed, and/or less vanilla.  Any fudge experts out there?
Ingredients
1.  In a heavy-bottomed saucepan, combine the sugar, chocolate, 1 1/2 tablespoons of the butter, half-and-half, and corn syrup.
·         2 3/4 cups sugar
·         4 ounces bittersweet chocolate chips 60% cacao
·         3 tablespoons butter, plus more for greasing pan
·         1 cup half-and-half
·         1 tablespoon corn syrup
·         1 tablespoon vanilla extract (next time, I might try 1/2 of this)

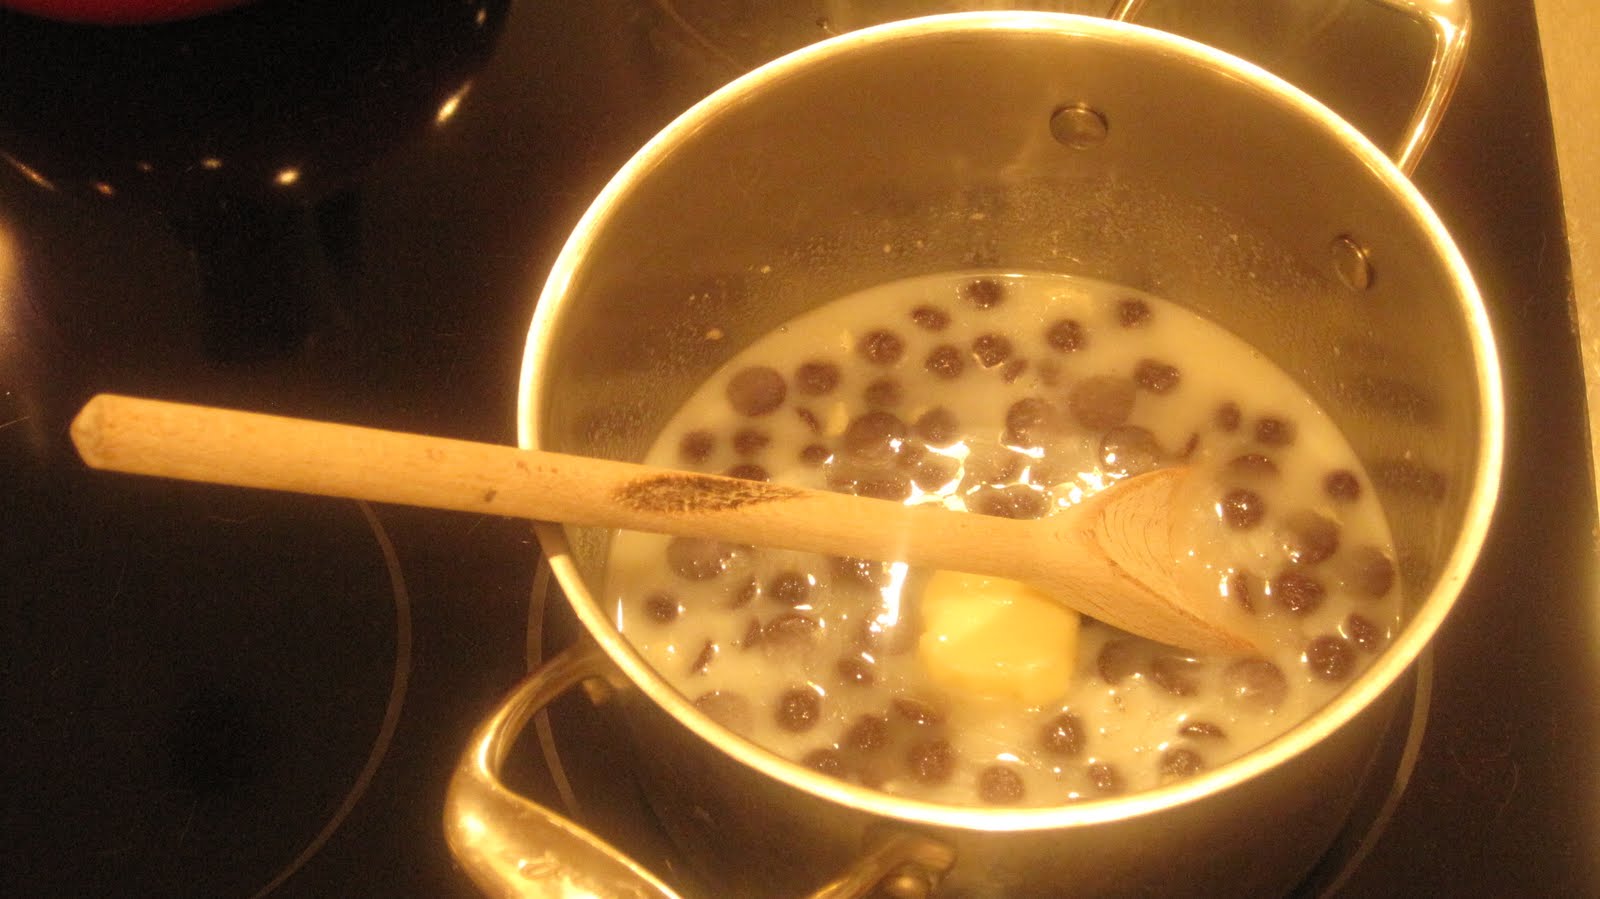
 2.  Over medium heat, stir with a wooden spoon until sugar is dissolved and chocolate is melted. Increase heat and bring to a boil. Reduce heat to medium-low, cover, and boil for 3 minutes.


3.  Remove the cover and attach a candy thermometer to the pot. Cook until the thermometer reads 234 degrees F.  (As you can see here, the photos temporarily cease...that is because I was in panic mode and forgot all about the camera...)
4.  Remove from the heat and add the remaining butter. Do not stir.
5.  Let the mixture cool for 10 minutes or until it drops to 130 degrees F.
6.  Add vanilla, and mix until well-blended and the shiny texture becomes matte.
Finishing touch
1.  Once the fudge begins to thicken, dribble (more like plop) a layer of fudge onto the flat bottom side of each cookie. 
At this point in my experiment, it was 10:30 pm and I was waiting for the fudge to thicken.  I rushed this part and you can see that the fudge is not as thick as the originals.

In spite of my errors, these went over well with the testers.  Now, I must admit that none of the testers were from Baltimore and were instantly intoxicated from the sugar rush.  I will try these again after purchasing a candy thermometer and finding how to modify the fudge recipe.  Let me know what you think...

Try to ensure the fudge layer is the same thickness as the cookie. If the fudge is too thin and oozes off the cookie, give it a minute or two to thicken and try again. Work fast or the fudge will solidify before all the cookies have topping.